
The Talharpa or tagelharpa is an ancient Nordic bowed lyre, whose haunting sound evokes the era of Vikings and epic sagas. This isn't just an instrument; it's a piece of history you can build yourself. This guide will walk you through the entire process—from selecting wood to tuning your first chords. We cover two approaches: an accessible modern method and an authentic historical one, so you can choose the path that best suits your skills.
What You Will Need: Materials & Tools
Before you start building your Talharpa, gather all necessary materials and tools for an organized workflow.
- Materials:
- Wood for the body and soundboard: For the top plate (soundboard), spruce or cedar are ideal for their excellent resonant properties. For the body, neck, and sides, use hardwoods like maple, ash, walnut, cherry, or even quality plywood to start.
- Strings: You can use ready-made metal (e.g., for guitar or mandolin) or nylon strings. For a traditional approach, strings twisted from horsehair are an option.
- Tuning Pegs: A set of violin, viola, or hardanger fiddle pegs.
- Glue: Strong wood glue (like PVA or Titebond).
- Finish: Linseed or tung oil, and wax to protect the wood and enhance its grain.
- Tools:
- Essential Tools: Hand saw or jigsaw, plane, set of chisels, mallet, drill with various bits, clamps.
- Finishing: Sandpaper of varying grits (from coarse P80 to fine P320).
- Measuring: Ruler, square, pencil.
Step 1: Crafting the Soundbox — The Heart of the Instrument
The soundbox acts as the resonator, directly defining your Talharpa's voice. Choose the method matching your skill level and tools.
Modern Method (Fast and Reliable)
This approach uses a frame assembly, which is easier for beginners and allows precise control over the soundboard's thickness.
- Assemble the Frame (Ribs): Create the outline of the future body from prepared wood blocks. Glue them together to form the sides.
- Make the Soundboards: Cut the front and back plates from a thin wood board (3-5 mm thick) to match the frame's shape.
- Glue the Body: Carefully glue the assembled frame first to the back plate and then to the front plate. Use clamps for a secure bond and allow the glue to dry completely. Remember to cut a soundhole in the top plate, which can be round, shaped like animal paws, or a simple slit.
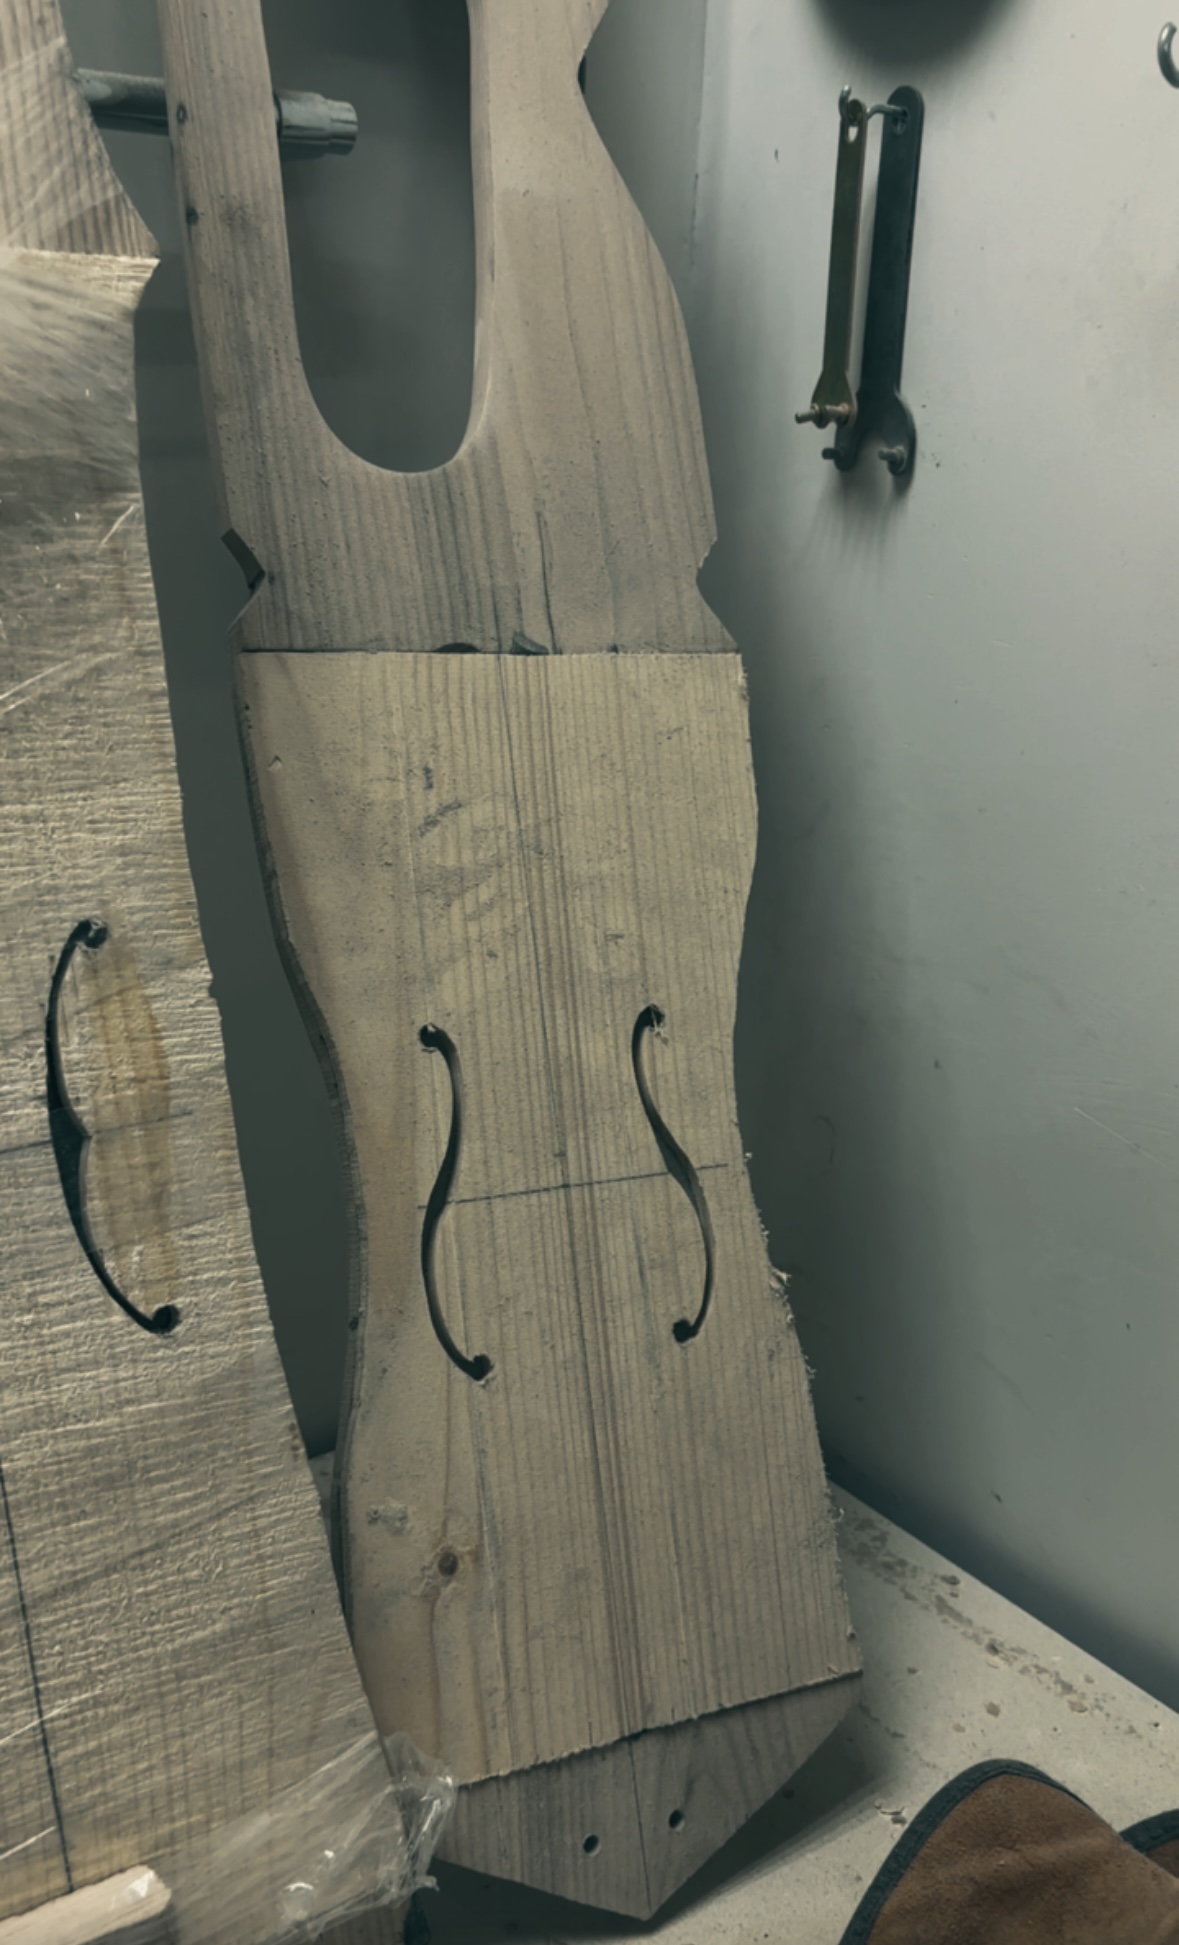
Historical Method (Authentic and Labor-Intensive)
This method is more time-consuming and requires greater skill, but results in a hollowed-body instrument closest to historical prototypes.
Method Selection Tip: The historical method provides a deeper connection to the material but requires sharp tools and experience. I strongly recommend beginners start with the modern method to build skills and ensure a playable instrument.
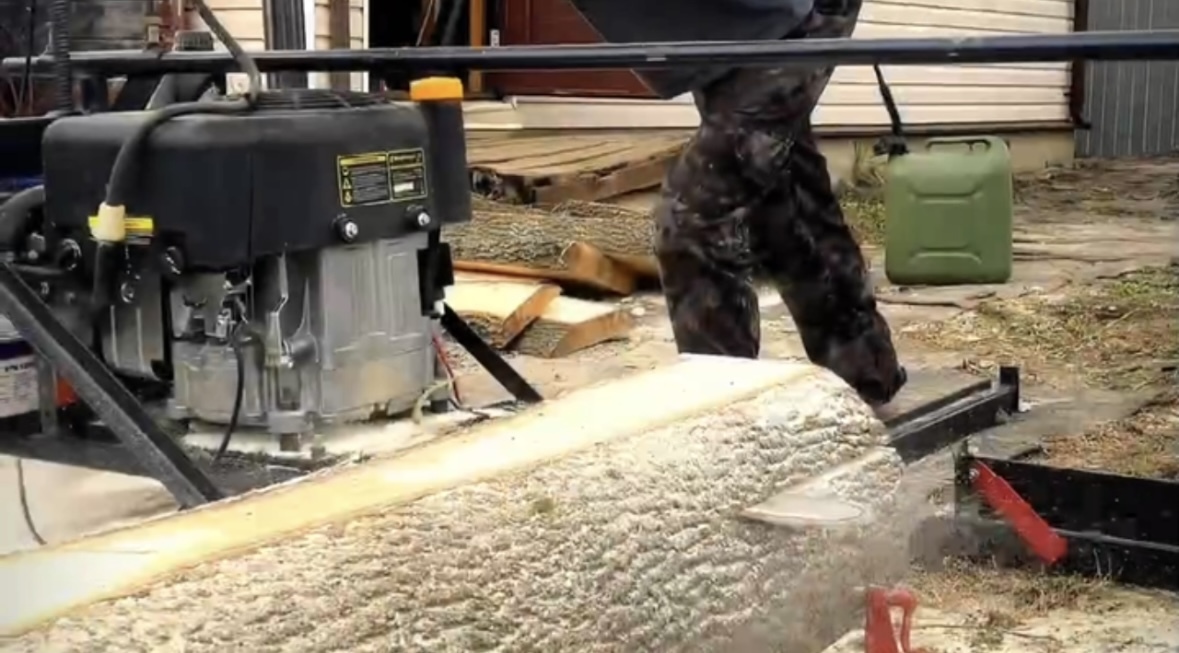
- Prepare the Wood Block: Start with a solid block of suitable wood.
- Hollowing the Body: Using chisels and a mallet, manually carve out the inside to create a "trough" shape. This meticulous work requires care to avoid making the walls too thin.
- Cut the Soundhole: Saw a soundhole in the upper part of the body for the sound to project.
- Install the Top Plate: Glue a thin top plate into grooves cut along the edges of the body, having pre-cut a soundhole.
Method Selection Tip: The historical method provides a deeper connection to the material but requires sharp tools and experience. I strongly recommend beginners start with the modern method to build skills and ensure a playable instrument.
Step 2: Making and Stringing the Strings
Making Horsehair Strings
For a fully traditional experience, you can make strings yourself.
- Prepare the Hair: Take a bundle of clean horsehair. The more hairs in the bundle, the denser and stronger the string.
- Twisting the String: Secure the bundle ends to two rotating objects (e.g., hooks). Begin twisting one end, tightly and evenly twisting the hairs. For strength, you can twist several prepared strands together.
Practical Advice: Horsehair strings are delicate, sensitive to moisture, and require special care. For a more durable and stable option, I recommend using ready-made nylon or metal strings for a mandolin or hardanger fiddle, selecting the appropriate diameter.
Step 3: Final Assembly and Tuning the Instrument
Once the body is ready and strings are prepared, proceed to the most critical stage.
- Install the Tailpiece and Bridge: Secure the tailpiece and bridge in pre-drilled holes in the body and the top of the neck. These can be made of bone, hardwoods, or metal.
- Stringing: Carefully mount the strings, attaching them to the pegs and tailpiece. Begin with low tension.
- Tuning the Talharpa: Tune the instrument to a historical Nordic tuning, often based on fourths or fifths. For a 4-string Talharpa, a common tuning is A-D-G-C (from the lowest to the highest string). Use an electronic tuner for accuracy. Don't be alarmed if the instrument initially is unstable—the wood and strings need time to settle.
Pro Tips for Perfect Sound
- Thorough Sanding: Sand all parts thoroughly, especially the neck and string contact areas. This ensures comfort and clean sound.
- Sealing and Protection: Coat the finished instrument with linseed oil or wax. This protects the wood from moisture and highlights its natural grain.
- Don't Fear Experimentation: The body shape, string material, and action height all influence the sound. Experiment to find your unique tone.
Building a Talharpa is a rewarding process that blends craftsmanship, creativity, and history. Your first instrument doesn't need to be perfect—the most important thing is to begin. Good luck with your project! If you'd prefer a ready-made instrument crafted to your taste, we invite you to visit our workshop at YarugaMusic.
